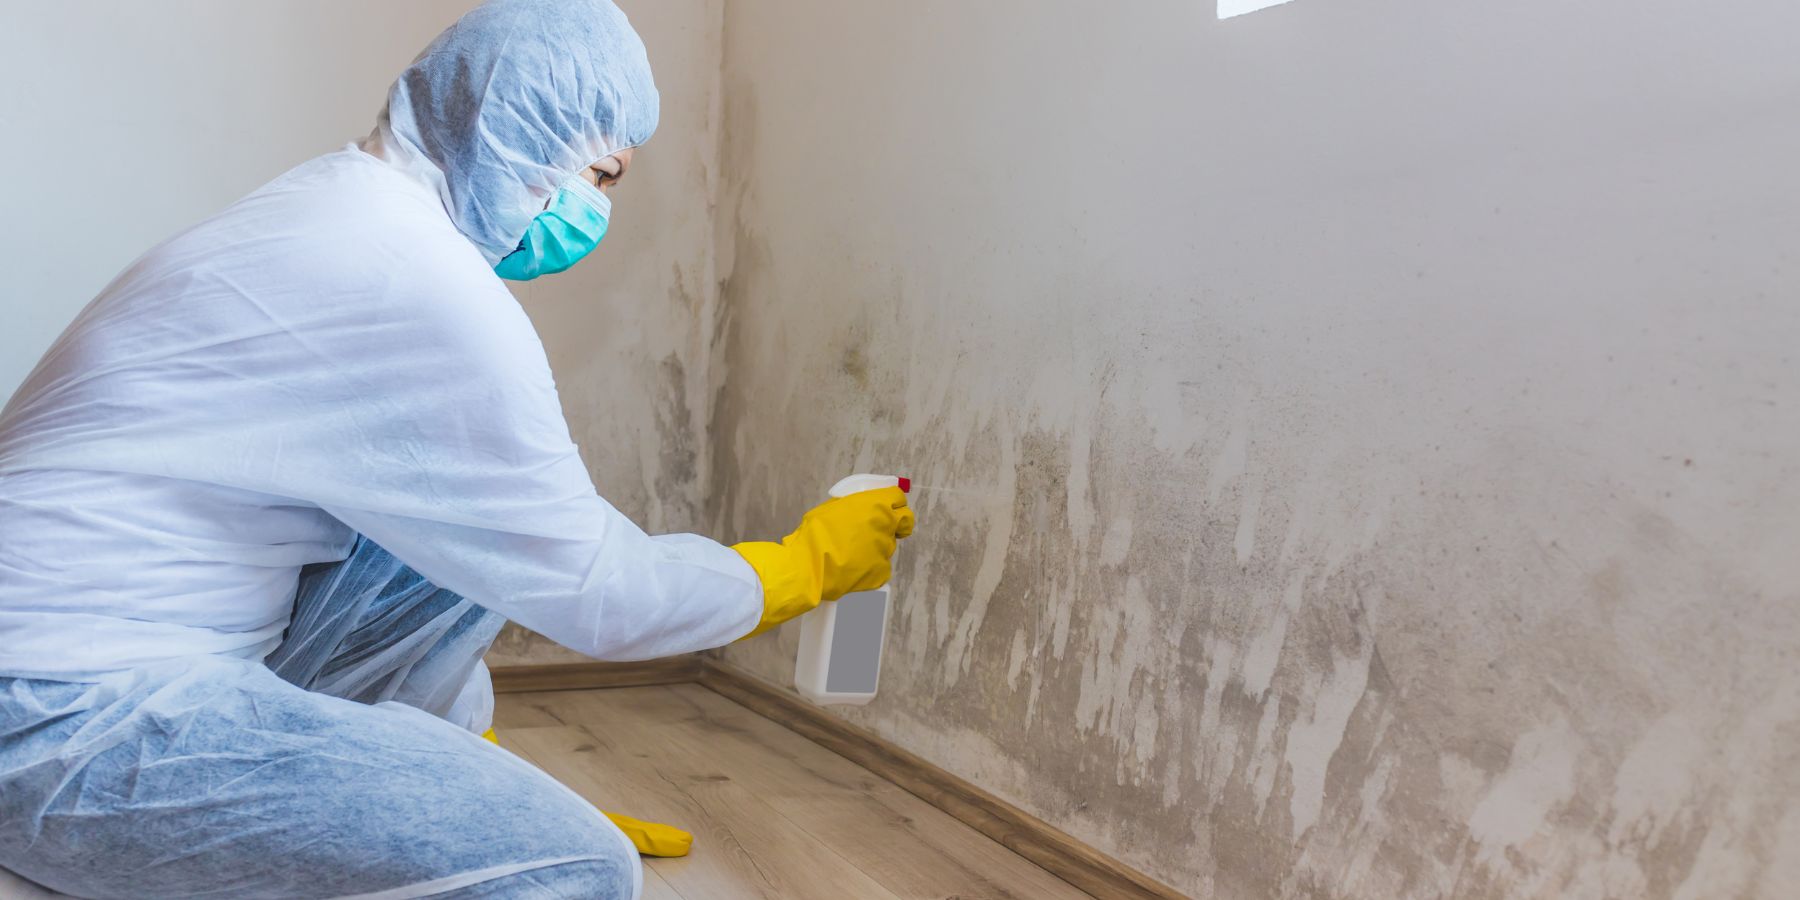
Mold is an unwelcome guest in any home. It can appear on various surfaces, from walls to fabrics, and even in unexpected places like plastic bottles. If you've discovered mold in a plastic bottle, don't worry; you can effectively remove it with DIY techniques. In this guide, we'll explore simple and safe methods to tackle mold issues in plastic bottles and other common areas of your home.
Understanding Mold Growth
Before we dive into removal methods, let's briefly understand why mold grows in plastic bottles. Mold thrives in damp and dark environments, making leftover moisture in bottles an ideal breeding ground. Whether it's a forgotten sports bottle or a reusable water container, mold can take hold if not properly cleaned and dried.
Materials You'll Need
To tackle mold in plastic bottles, gather the following materials:
Rubber Gloves: Always wear rubber gloves to protect your hands from mold spores.
Mild Detergent: You'll need a mild detergent or dish soap.
Warm Water: Ensure you have access to warm water.
Bottle Brush: A bottle brush with soft bristles will help scrub the interior of the bottle.
White Vinegar: White vinegar is an effective natural mold remover.
Baking Soda: Baking soda can help deodorize and further clean the bottle.
Paper Towels or Cloth: For drying the bottle thoroughly.
Now that you have your materials ready, let's proceed with the step-by-step process.
Step 1: Safety First
Start by putting on your rubber gloves to protect your skin from mold and cleaning agents.
Step 2: Empty and Rinse
Empty the plastic bottle, discarding any leftover liquids or substances. Rinse it with warm water to remove loose particles and residue.
Step 3: Prepare a Cleaning Solution
Create a cleaning solution by mixing warm water and a few drops of mild detergent. Use the bottle brush to scrub the interior of the bottle thoroughly. Pay special attention to any areas with visible mold growth.
Step 4: Vinegar Solution
If mold persists after the initial cleaning, it's time to bring out the big guns. Create a solution of equal parts white vinegar and warm water. Fill the bottle with this solution, ensuring that it reaches all mold-affected areas.
Step 5: Soak and Shake
Place the cap on the bottle and give it a good shake to ensure the vinegar solution reaches every nook and cranny inside. Let the bottle sit for a few hours or overnight to allow the vinegar's natural anti-fungal properties to work their magic.
Step 6: Scrub Again
After soaking, use the bottle brush to scrub the interior once more. This step should remove any remaining mold.
Step 7: Baking Soda Rinse
To eliminate any lingering odors, rinse the bottle with a solution of warm water and baking soda. This will also help to neutralize any remaining vinegar smell.
Step 8: Final Rinse and Dry
Thoroughly rinse the bottle with warm water to remove all cleaning agents. Use paper towels or a clean cloth to dry it completely. Ensure there is no moisture left inside, as mold thrives in damp conditions.
Step 9: Prevention
To prevent mold from returning, make sure to:
Store bottles with the caps off to allow them to air dry completely.
Regularly clean and sanitize reusable bottles.
Avoid leaving liquids in bottles for extended periods.
Now that you know how to effectively remove mold from plastic bottles let's address some common questions about mold removal.
Mold Removal FAQs
Q: Can I use bleach to remove mold from a plastic bottle?
A: While bleach can be effective, it's best to avoid using it on plastic bottles as it may leave a lingering odor. Vinegar is a safer and natural alternative.
Q: How often should I clean my reusable water bottle to prevent mold?
A: It's a good practice to clean and sanitize your reusable water bottle daily or after each use.
Q: Are there any health risks associated with mold in plastic bottles?
A: Mold can potentially produce mycotoxins that may pose health risks. It's best to remove mold promptly and ensure thorough cleaning to prevent health concerns.


